Easy to install! Start protecting your website pages in minutes!


Recently Updated : June 2023
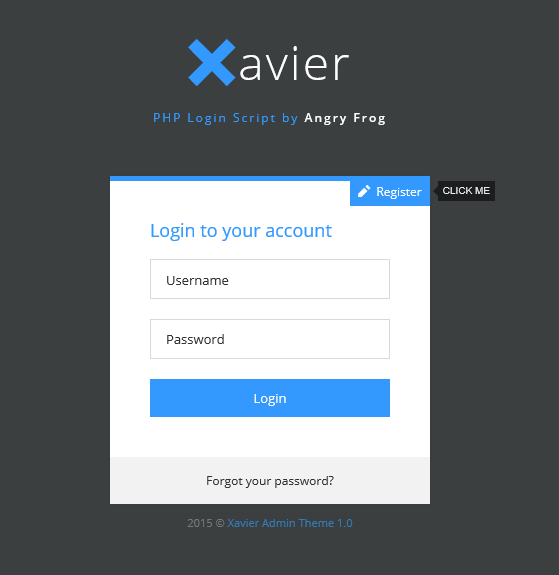
The Xavier PHP Login Script is a user management system allowing the registration and administration of users to your website. The script can easily be dropped in to an existing website allowing you to protect pages by adding a couple of lines of PHP code at the top of a page. You can also protect sections of pages. Secure your web pages dependant on user login status (logged on /off), user’s group membership status or whether you are logged on as the administrator. The example pages and scripts (login, registration, forgotten password, etc.) can be customised to fit neatly in to your own site. The script can now log every users move!

The administration panel allows you to administer your users and change various site settings. As an admin you can add, edit, ban or delete users. It is built on Bootstrap and is highly customizable.

The script comes with great support from the creators including comprehensive detailed instructions, a comments section where we can answer your queries both prior to and after purchase and a dedicated forum to allow users of the script to share ways of utilising and even modifying the script for their own needs.

Looking to create a Hybrid App? With our PHP Login script, it’s possible (with a bit of tweaking) to have your app’s users authenticated to your app, and to display and edit inforamtion from your MySQL database. Contact us for more details.